# MarkupX Projects
MarkupX Projects (.MX) are a proprietary file type that captures the status of each markup as designated by the user. After a user imports a PDF into the MarkupX Navigator and starts marking issues as Completed, adding Comments, or Changing the Status, the user must then save that session to capture their progress and create the .MX file type. This .MX file can then be opened in a future AutoCAD or Revit session to enable the user to work where they left off. The .MX file can also be opened in the MarkupX Review software.
# Creating a New MarkupX Project
This command allows the user to create a New Project. After the project is created, the user will then need to save the project and give it a name and specify the location.
- On the Navigator Panel starting from the left-hand side, click on the first icon named New Project.

Note: A project is created immediately after clicking on the button. The next step would be to save the project and give it a name.
# Save a Project
This command gives the user the ability to name the project and specify where it is located.
- On the Navigator Panel starting on the left-hand side, click on the 3rd icon named Save Project.

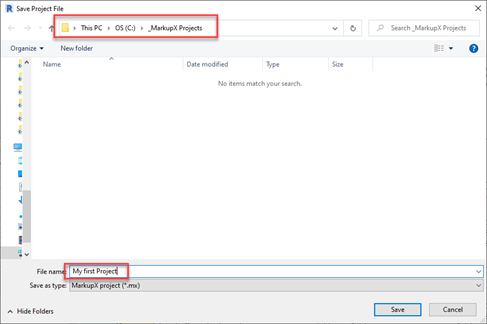
The Save Project File dialog is displayed.

- Browse to the location where the project is to be saved.
- Type in a Name for the project in the File name: Text box.
- Click Save.
Note: After the project has been saved, you then can load a PDF into the project.
# Open a MarkupX Project
This command opens an existing project. The user will browse to a location where a project is stored and then select the project file to open.
- On the Navigator Panel, starting on the left-hand side, click on the 2nd icon named Open Project.

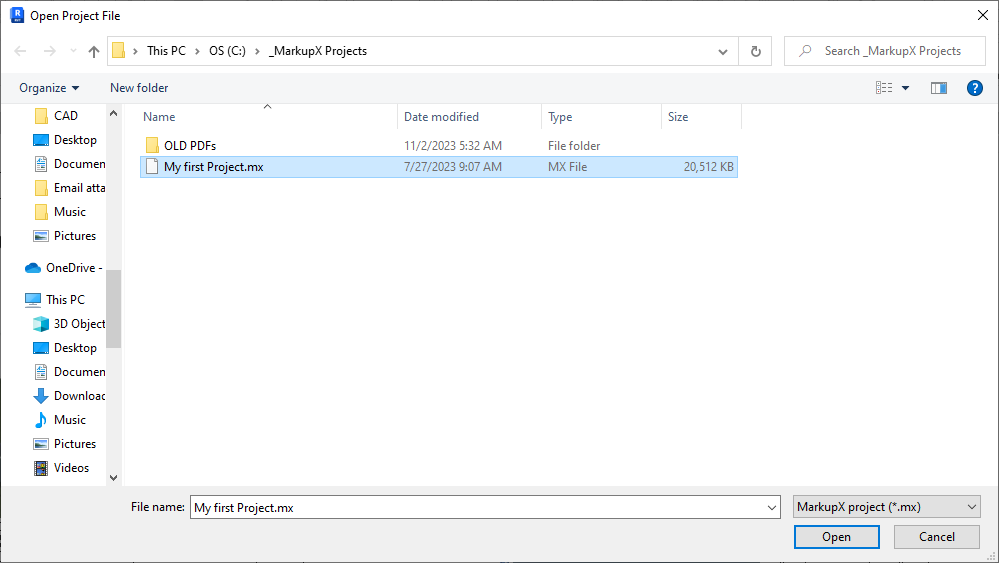
The Open Project File dialog is displayed.

- Browse to the location where the project is saved.
- Select the project in the folder.
- Click Open.
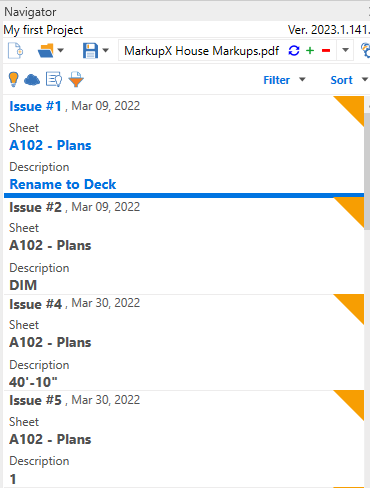
Note: If there are markups in this project, they will be displayed in the Navigator Panel.

